


Ever tried to zoom in on a photo only to find it looks like a pixelated mess? It’s like trying to read the fine print on a cereal box with a magnifying glass that’s cracked. Fear not, iPhone users! Making a picture bigger isn’t just a techy dream; it’s a reality that’ll have your images popping like popcorn at a movie night.
Understanding Image Size on iPhone
Understanding image size plays a crucial role in enhancing photo quality on an iPhone. Image resolution and format directly influence how pictures appear when enlarged.
Importance of Image Resolution
Image resolution refers to the detail an image holds. Higher resolution images provide more pixels per inch, resulting in clearer, sharper pictures. Image quality often suffers when users enlarge low-resolution images, leading to pixelation. Original photos captured at higher resolutions maintain clarity, even when zoomed in. For instance, an image with a resolution of 300 DPI remains sharp, while a 72 DPI photo tends to blur. Using high-resolution images ensures better results and enhances the viewing experience.
Common Image Formats
Common image formats include JPEG, PNG, and HEIC. JPEG files provide a balance of quality and file size, making them popular for photos. PNG files support transparency and lossless compression, retaining original quality but resulting in larger file sizes. HEIC format, used by newer iPhones, offers higher quality and smaller sizes but may have compatibility issues with older devices. Understanding these formats aids in selecting the right image type for various uses, ensuring clarity when images are resized. Choosing the appropriate format can greatly enhance image quality on an iPhone.
Methods to Make a Picture Bigger on iPhone
Several methods exist to enlarge pictures on an iPhone effectively. Users can choose built-in options or explore additional applications offering advanced editing features.
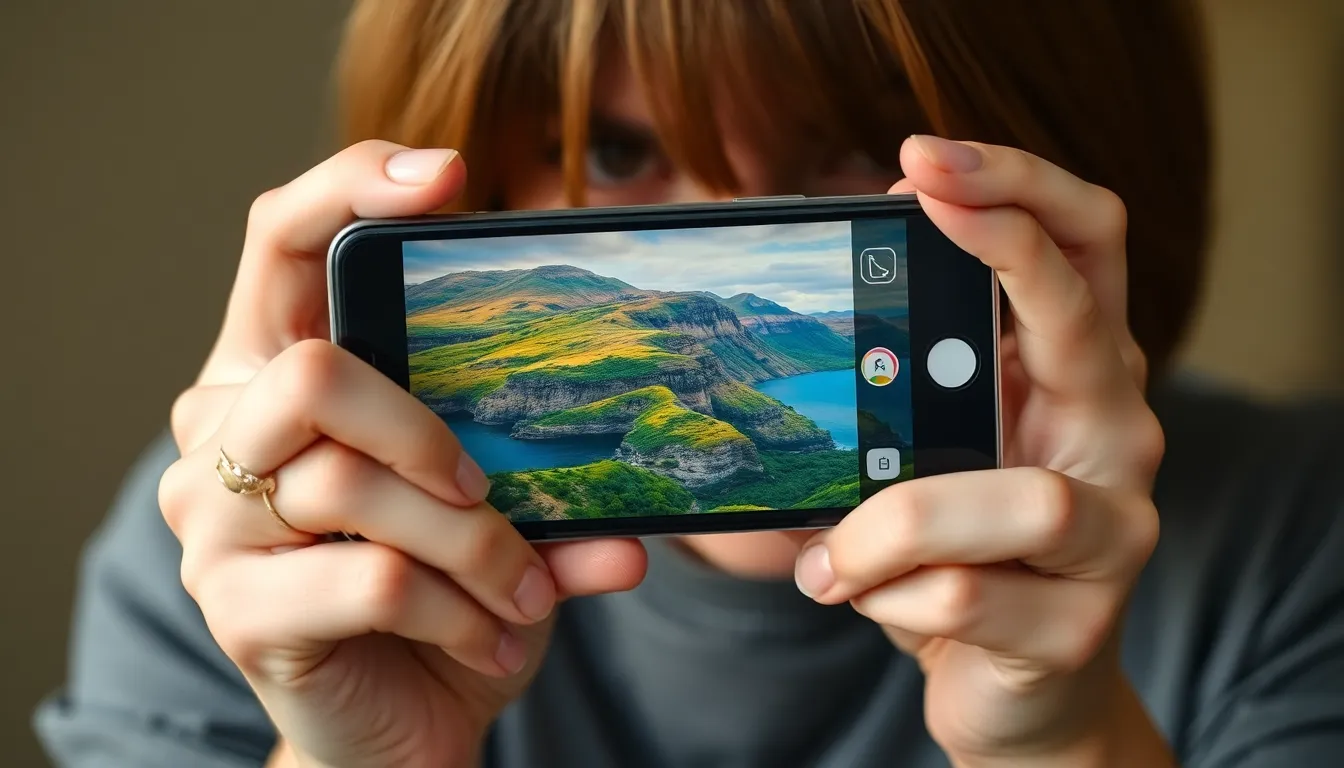
Using the Photos App
The Photos app provides a straightforward way to zoom into images without installing anything. Users can tap to open a photo, then use a pinch gesture to zoom in. While this method helps view details, it doesn’t enhance resolution. To improve clarity, open the image, select “Edit,” then apply adjustments like “Sharpness” or “Contrast.” These tweaks can make images appear more vibrant when enlarged, enhancing overall quality.
Utilizing Third-Party Apps
Various third-party apps enable effective resizing and enhancement of photos. Popular options like Photoshop Express or Snapseed offer advanced features for resizing and optimizing pictures. Users can import their images into one of these applications, select the resize option, and specify desired dimensions. They often include tools to enhance sharpness, reduce noise, and improve color balance, making enlarged images appear clearer and more professional.
Editing Tools for Resizing Images
iPhone users can take advantage of various editing tools to resize images effectively. These include built-in features and third-party applications designed for enhancing photo quality.
Built-in Editing Features
The Photos app provides essential editing features for resizing images. Users can access options like “Crop” and “Resize” directly in the app. Cropping allows selective areas to focus on without altering the overall quality. Adjustments such as “Sharpness” and “Contrast” enhance clarity, making photos appear more vibrant. Adjusting these settings often yields improved results for enlarged images. Applying these built-in tools ensures that photos maintain their quality, even after resizing.
Recommended Apps for Image Resizing
Several third-party applications offer powerful tools for resizing images. Apps like Photoshop Express provide advanced resizing options, allowing users to specify exact dimensions in pixels. Snapseed excels in optimizing photo quality with features that reduce noise and balance colors. Users can enhance sharpness, ensuring that resized images remain clear. These apps support various formats, making image conversion seamless. With diverse editing capabilities, they enable iPhone users to achieve professional-quality results easily.
Tips for Maintaining Quality When Enlarging
Maintaining quality while enlarging pictures on an iPhone involves understanding resolution and avoiding pixelation.
Choosing the Right Resolution
Resolution plays a critical role in image clarity. Users should always select higher resolution images for enlargement. Images with at least 300 pixels per inch (PPI) yield better quality during resizing. When using third-party apps, opt for settings that retain this resolution. Exporting images at their original size helps preserve details. Familiarity with image formats can aid quality as well. JPEGs, while common, often compress image data, leading to potential loss of detail. Using PNG or HEIC formats can provide sharper results when enlarging images.
Avoiding Pixelation
Pixelation occurs when images lack sufficient detail for enlargement. To avoid this, users can utilize the editing features in the Photos app. Increasing sharpness can enhance clarity without compromising quality. Selecting tools geared towards noise reduction also aids in maintaining smoothness. When utilizing third-party applications, features like interpolation algorithms prevent pixelation, enhancing image integrity. Focusing on specific areas using cropping tools keeps the enlarged sections clear. Knowing limitations exists in every image is essential; choosing the right photos for enlargement will yield the best outcomes.